4.22.2014

Learning Human Anatomy

Looking at this life sized human anatomy wall hanger I got from Hong Kong at a bookstore kind of makes me laugh. The drawing of the models is cartoonish in a cute way that is children-friendly-tries-to-be, but at the same time it is a bit creepy. When I first put it up on the wall, my children were sort of frightened by it. 


On the girl side, all the body parts and organs are labeled in Chinese characters, and on the boy side, all are in English. This is useful because I have been teaching my kids bilingual vocabularies in almost everything they're learning.


After the initial shock, the kids felt more comfortable to explore the wall hanger a little more. Sophie is trying to move her limbs around.


 This is the boy side with the English labels.

The kids told me that the boy frightens them a little less, and I could see why.

However, when I came into the playroom the next day, I saw that the kids had done this to the poor boy model. I almost burst out in laughter. Yes, covering up private parts is the way to go. So proud of my kids for knowing at least that. ^0^


I can't deny that I love shopping in Asia sometimes. Besides the slightly cheaper prices in the merchandizes, one could always find very interesting and random things there.

Whole Wheat Mango Cake

I had a little bit of frozen mango chunks left in the bag, so I thought the kids could do something with them. 
I stumbled upon this recipe  and made a few modifications. The kids really enjoyed making this cake with me as well as eating it after it had came out of the oven. 

Mix 1/4 cup butter with 3/4 cup sugar


Puree about the amount of an actual mango


Add the mango puree into the butter and sugar mixture along with 1 egg, 1 tsp vanilla extract and 2 tbsp lemon juice

Next, mix 1 1/2 cup of whole wheat flour, 1 1/2 tsp baking powder and 1/2 tsp baking soda in a separate bowl, then fold it into the wet ingredients.

Chop up about another real mango worth of mango pieces,

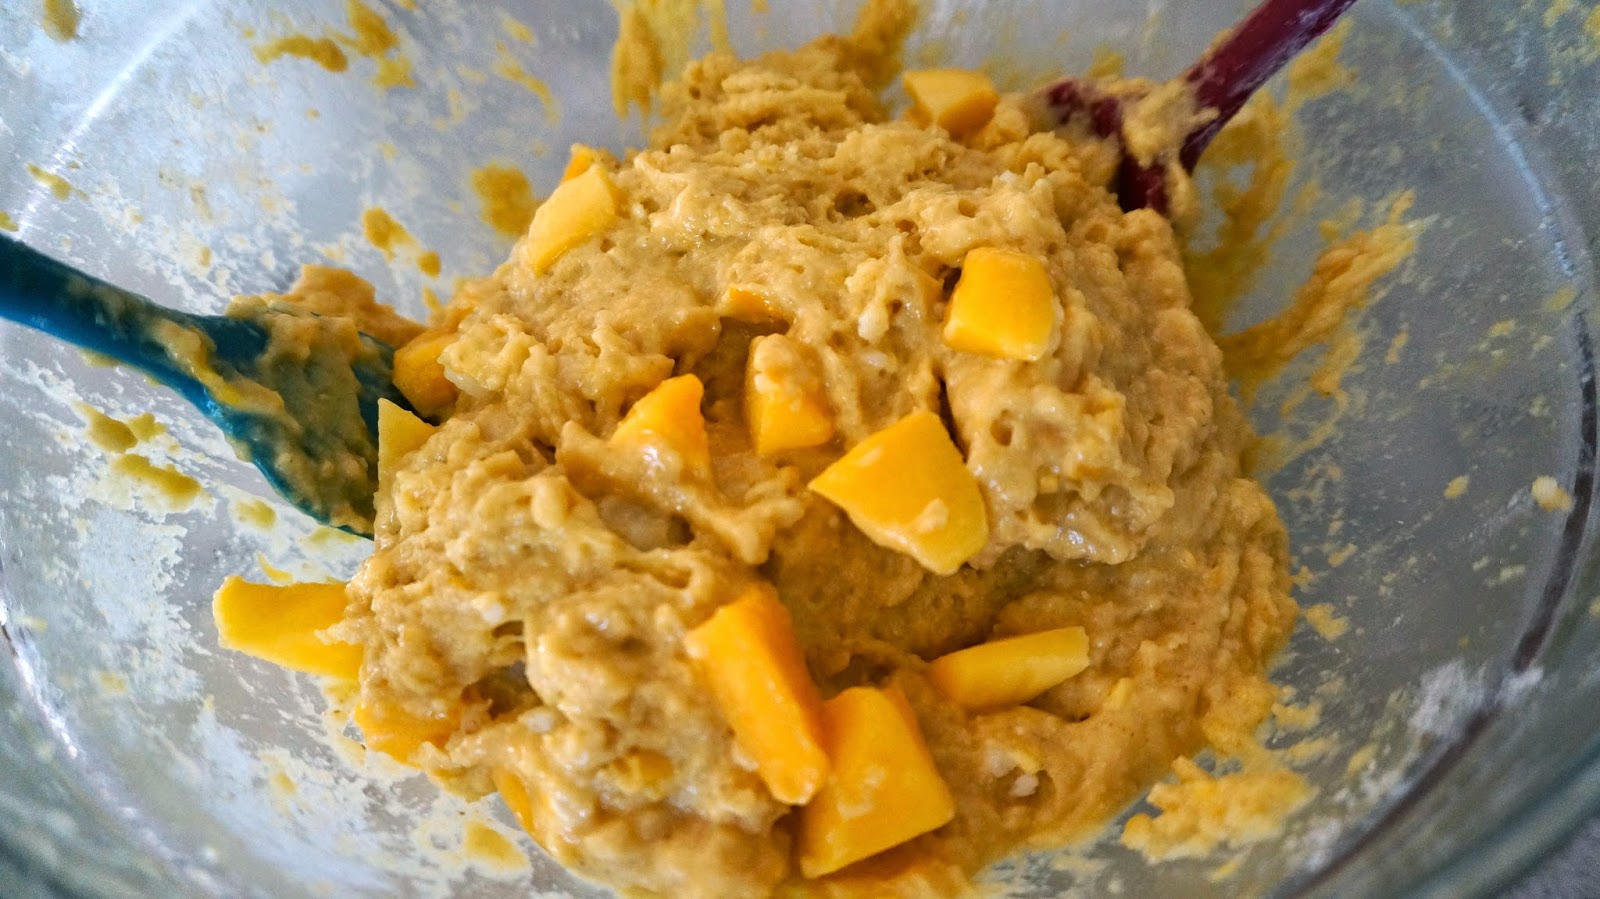
and fold them in with everything else.

Grease the baking pan and transfer the batter into it

In about 39 minutes (yes, it was 39 minutes for me and not 40 =P), it was completely done, it smelled heavenly and tasted... well, let's just say the taste was definitely approved by Sophie and Brandon! ^_^

4.21.2014

Kangovou

I recently came across Kangovou. It's an American company started by two mothers. They designed a set of stainless steel kid's dish-ware that are BPA, PVC, lead, melamine, phthalate free. The products are made in South Korea. When I ordered them on the internet, I had to wait at least 5 weeks to get the products due to backordering. 

Here are the two sweet boxes when they arrived at my door. I ordered the Ice Mint colored set for Brandon, and the Peaches and Cream colored set for Sophie.

The dish-ware set was packaged very artistically and securely.

After opening the lid of the box, the compartment plate with lid is neatly tucked under. 

The second layer is consist of the sippy cup, cereal bowl and the snack bowl. 


 The bottom layer is the flat plate.

 Here is the whole family together =)


So far,  the kids and I have been enjoying the dish-ware set quite well.


On the other note, poor Brandon has been having fever for the past 3 days. I am thankful for all the people who cared and prayed for him. He's doing a lot better this morning. Hopefully he'll be fully recovered in no time.

4.17.2014

Coffee Table Happenings

In the last entry, I shared about the kids and I doing baking and crafts at our dining table, today I am going to share about what we do at our coffee table. We have not a very big house, and so the kids' play area is basically anywhere and everywhere in the house. We like to be in the living room area during the day because it's more open and it gets in the best sun light. The kiddos are still relatively young (3 and almost 2), and so I don't try to do too much with paints and brushes yet, feeling that it'll just get so messy for me to clean afterward. As a result, we used colorful construction papers recently to make a poster. 

This whole poster took us 2 days to complete, and I was in charge of the cutting, while Sophie was in charge of the glue stick, and Brandon was in charge of telling us what should be on the poster. 

I used the drawing paper roll from Ikea, and I cut a strip to the length of our coffee table and taped it down so it would be secure in its place and would not get bended or torn during the whole gluing process. 


First, we started with some clouds. It must have been a sunny day! 

Then we cut and glued some trees and grass.

Oh, don't forget Mr. Sun himself.

Next, Brandon wanted birds, and Sophie wanted a face for Mr. Sun. Then ideas started to sprout from there: we added apples to one tree and oranges for another. After that we threw Sophie and Brandon in there too. All the while I was busy cutting out the shapes, Sophie was diligently gluing everything in place without me telling her where to put everything. She decided that she and Brandon has to be separated by the orange tree, and so be it!

Or course we couldn't let the children be without clothes, so we added them in. Sophie decided that her orange pocket had to be horizontal, on the side of her green jumper. I was thinking of more of a traditional approach where the pocket is vertical, in the middle of the chest area. Maybe she's got a better set of eyes for design than me. I am hoping. ^_^

We picked up where we left off 2 days later and started adding more to the poster.

First of all, we added animals. I personally wanted a pig in here because I was born in the year of the pig in the Chinese zodiac. ^^

Sophie didn't seem to mind the idea of a pig joining the poster.

Then we added in some balloons, with strings. Yes, Sophie had to make sure of the strings by using a black marker.

Then she decided that five balloons are simply too few, so she added in 2 more.


Brandon requested that we also have Baa Baa Black Sheep, too.

Here are a few details that I added in after all the gluing was done.


This was the final result!

The coffee table edges are rounded so that I don't have to child-prove it with spongy wraps and sticky tapes. It also has side drawers that I could fit remote controls and diapers in, which is a great feature to me. I found it on Overstock.com last year with 25% off when we first got the house. Great deal!

Anyways, now the kids are napping, I am going to think about a way to put this artwork up on the wall somehow, maybe for a short while, so Daddy could enjoy it too, and also have his coffee table back. ^^